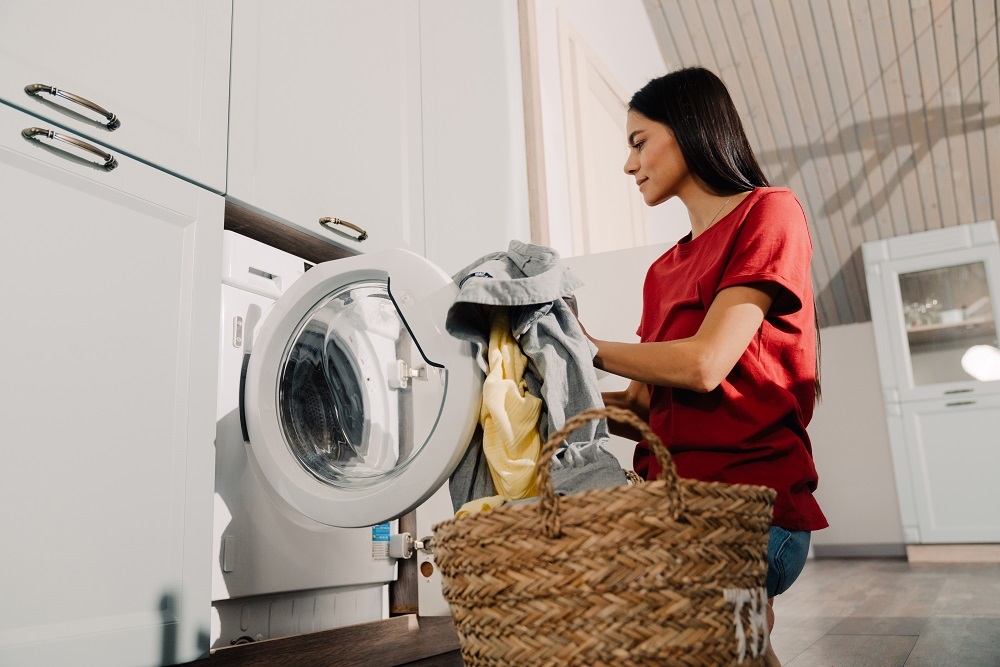
Installing an IFB washing machine is a straightforward process if you follow the proper guidelines. Whether you’ve purchased a front-load or top-load washing machine, the correct installation ensures optimal performance and a longer lifespan for your appliance. This comprehensive guide will walk you through every step to ensure your IFB washing machine is installed correctly and safely.
Why Proper Installation Matters
Before diving into the installation process, it’s essential to understand why proper installation is crucial:
- Optimal Performance: Ensuring all components are correctly set up will help your washing machine operate efficiently.
- Safety: Incorrect installation can lead to water leaks, electrical hazards, or even damage to the machine.
- Longevity: Proper setup minimizes wear and tear, prolonging the machine’s lifespan.
- Warranty Compliance: Incorrect installation might void the manufacturer’s warranty.
Pre-Installation Checklist
Before you start the installation, make sure you have the following items:
- User Manual: The IFB washing machine comes with a detailed user manual. Keep it handy.
- Required Tools:
- Adjustable wrench
- Screwdriver
- Spirit level
- Hose clamp (if not included)
- Installation Area:
- A stable, flat surface.
- Proper drainage system nearby.
- Water supply connection.
- Electrical outlet with proper earthing.
Step-by-Step Installation Process
1. Unpacking the Washing Machine
Carefully unpack the washing machine from its packaging. Inspect the machine for any visible damages or missing components. Retain the packaging materials in case of future transportation or warranty claims.
2. Remove the Transit Bolts
Most IFB washing machines come with transit bolts to secure the drum during transportation. Use the provided spanner or an appropriate tool to remove these bolts. Failing to remove them can damage the machine during operation.
Tip: Keep the transit bolts in a safe place for future use if you need to move the machine.
3. Position the Machine
Place the washing machine on a flat, stable surface. Use a spirit level to check that the machine is perfectly leveled. If the machine is uneven, adjust the feet by turning them clockwise or counterclockwise until the machine is stable.
Why Leveling is Important: An uneven machine can cause excessive vibrations and noise, potentially damaging the appliance.
4. Connect the Water Inlet Hose
The water inlet hose connects your washing machine to the water supply.
- Attach one end of the hose to the inlet valve on the washing machine.
- Connect the other end to the water tap.
- Tighten the connections securely to prevent leaks.
If your water supply has high pressure, consider using a pressure-reducing valve to avoid damaging the machine.
5. Set Up the Drain Hose
The drain hose is responsible for expelling used water from the machine.
- Ensure the drain hose is securely connected to the washing machine’s outlet.
- Place the other end into a drain pipe or sink.
- The hose’s height should be between 60-90 cm from the floor to ensure proper drainage.
6. Electrical Connection
Plug the washing machine into a dedicated electrical socket with proper earthing. Avoid using extension cords or multi-plug adapters, as they can lead to electrical hazards.
Important: Ensure the voltage and frequency match the machine’s requirements (mentioned in the user manual).
7. Test the Water Supply
Turn on the water tap and check for leaks in the inlet and drain hoses. Tighten the connections if necessary.
8. Run a Test Cycle
Before using the washing machine for regular laundry, run an empty test cycle to:
- Ensure the machine is functioning correctly.
- Check for any unusual noises or vibrations.
- Verify the water drainage and supply are working as expected.
Most IFB washing machines have a pre-set test cycle option. Refer to the user manual for specific instructions.
Common Installation Mistakes to Avoid
- Skipping the Transit Bolt Removal: Leaving the transit bolts in place can severely damage the drum.
- Improper Leveling: An uneven surface can lead to excessive vibrations and operational issues.
- Loose Hose Connections: Always double-check hose connections to prevent water leaks.
- Incorrect Electrical Setup: Avoid using multi-plug adapters or extension cords.
- Poor Drainage Setup: Ensure the drain hose is at the correct height and securely placed to avoid water overflow.
Maintenance Tips Post-Installation
To keep your IFB washing machine in optimal condition:
- Clean the Lint Filter: Regularly clean the lint filter to prevent blockages.
- Check for Leaks: Periodically inspect hose connections for leaks.
- Use Recommended Detergents: Only use detergents suitable for washing machines to prevent damage.
- Avoid Overloading: Follow the recommended load capacity to prevent wear and tear.
- Descale Regularly: Use a descaling solution every few months to prevent limescale buildup.
When to Call for Professional Help
While this guide covers the basic installation process, you might encounter situations requiring professional assistance:
- Complex plumbing or electrical setup.
- Persistent water leaks or drainage issues.
- Error codes on the machine’s display during the test cycle.
IFB offers professional installation services. Contact their customer support for assistance if needed.
Conclusion
Installing an IFB washing machine doesn’t have to be a daunting task. By following this step-by-step guide, you can ensure your machine is set up correctly for optimal performance and longevity. Remember to refer to the user manual for model-specific instructions and seek professional help if needed. Proper installation is the first step towards enjoying hassle-free laundry days with your IFB washing machine.
If you still face any issue, feel free to contact us. Our experts will provide the best solution to you.
Phone: +91 9988909889


